Here’s the blog post I did documenting my fax machine flower press.


Nov 01 2011

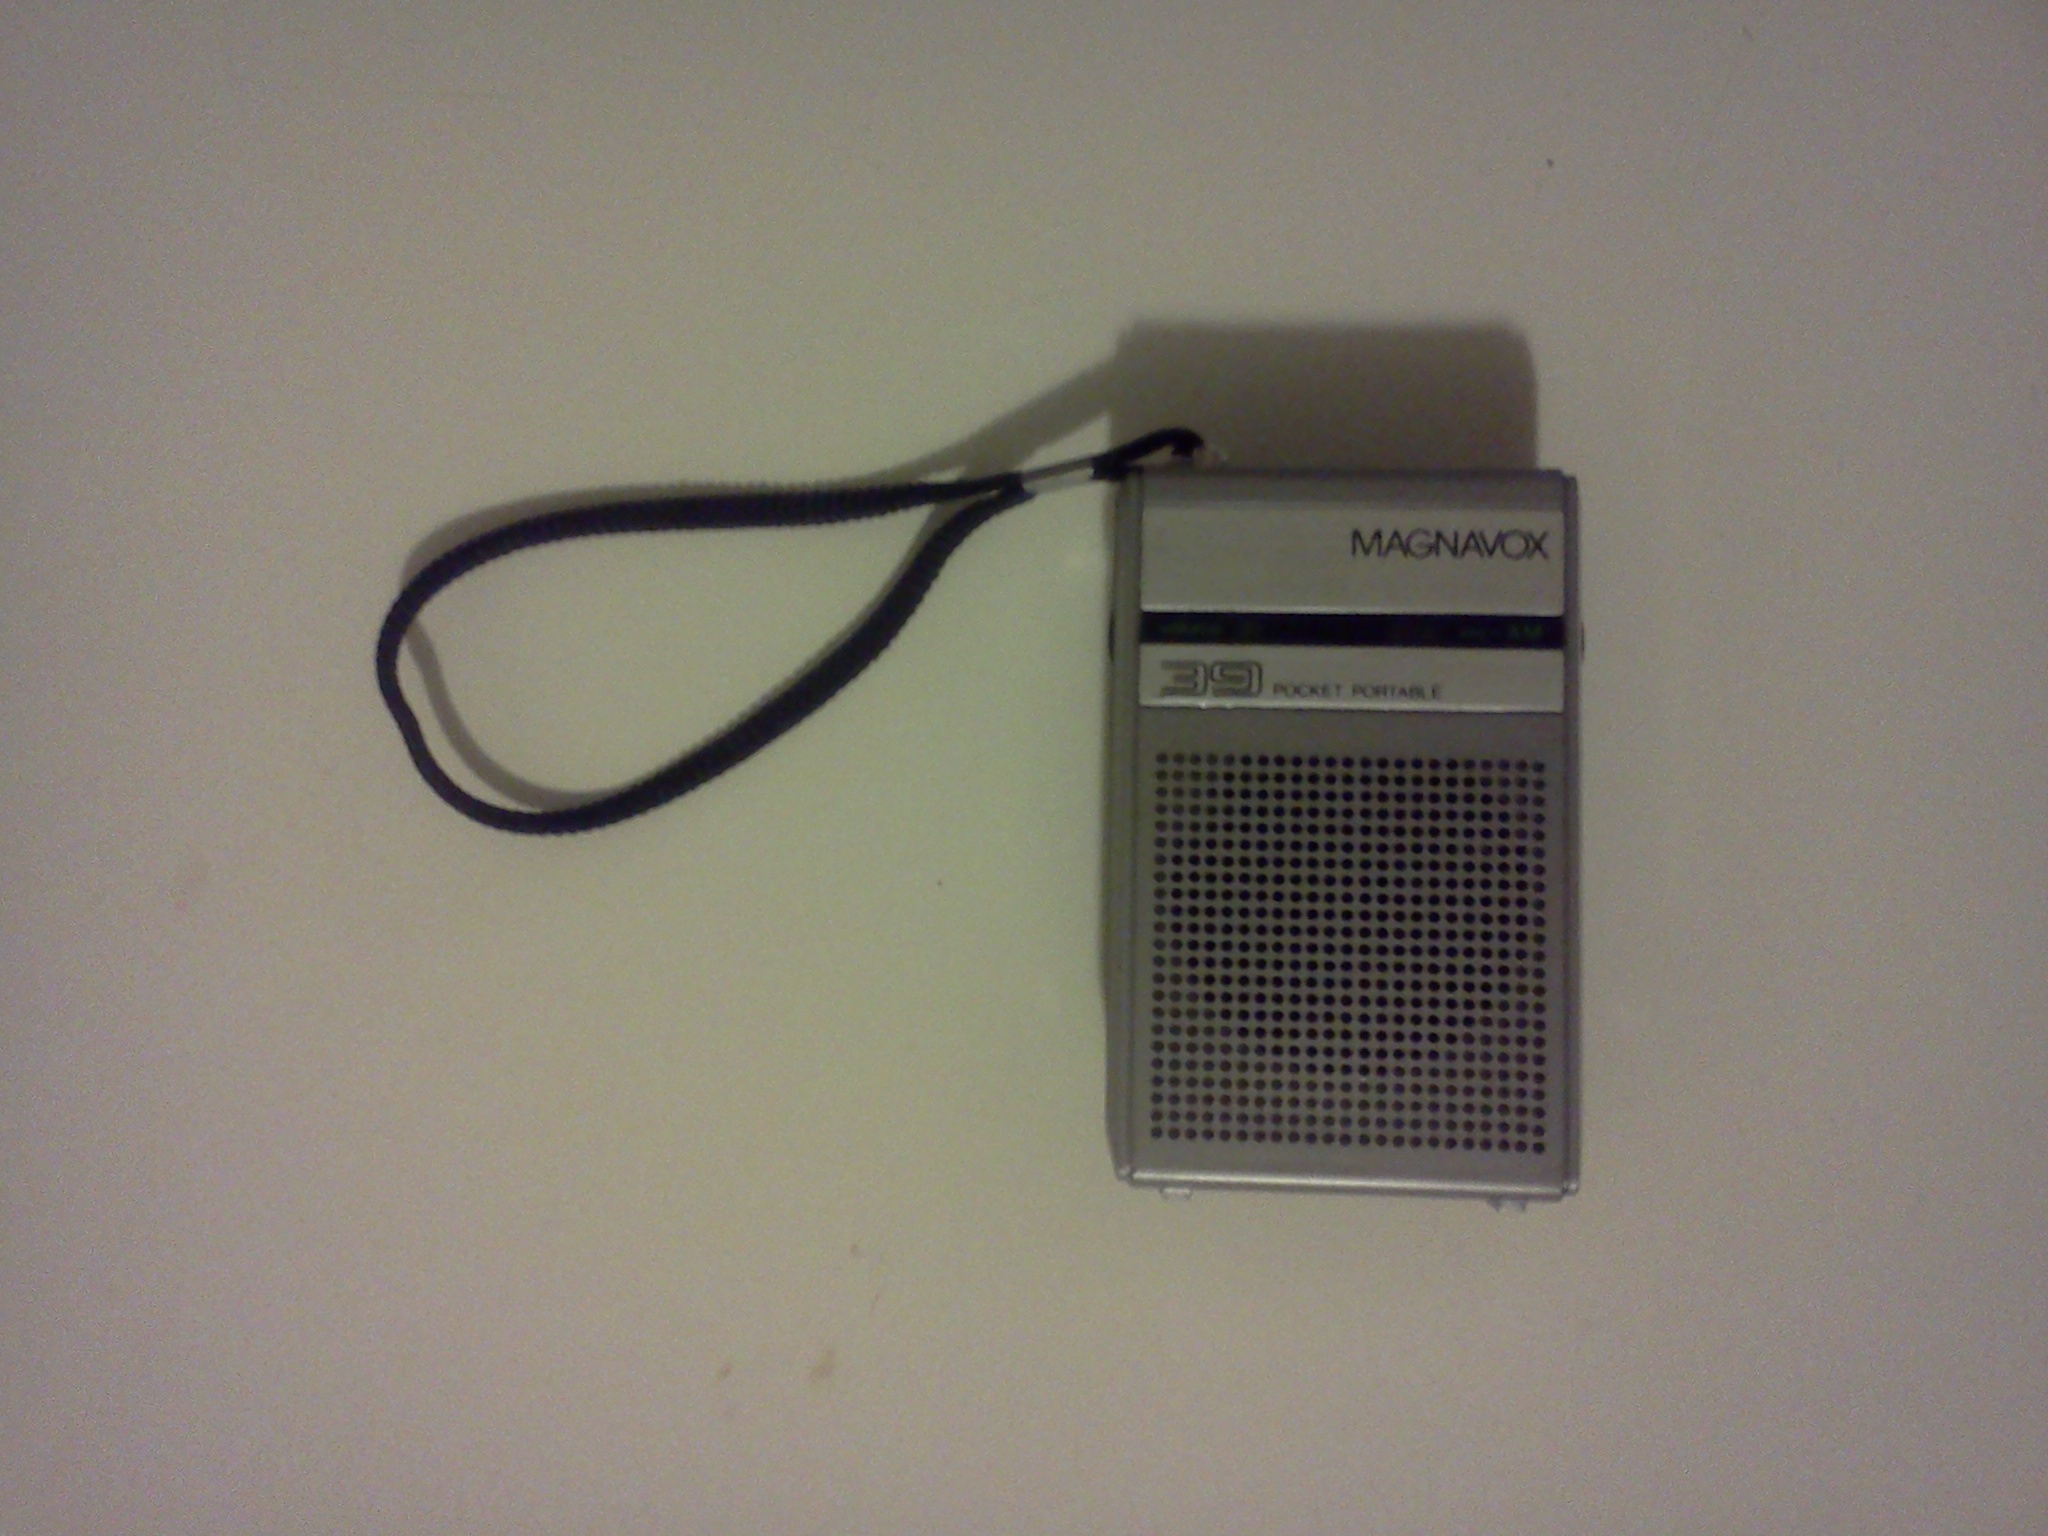
Kate and I have spent the past month working on hacking into a radio and playing podcasts (little did we initially know, that Jnah had beat us to the punch 10 years ago.) The concept was based around the fact we both like the aesthetics and the physicalness of the ;rage knobs and the shifting AM/FM . There is something interesting about how radios in the 40s and 50s were actually the focal point of a living room or social interaction, and now the iTunes/podcasts fade more into the backdrop.
Here are some initial pictures of the first radio we found:


Here, we attached a potentiometer to the tuning knob and arduino and processing to pick specific values to trigger shout casts. When doing final tuning yesterday, the knob broke, and we had to get a replacement radio.


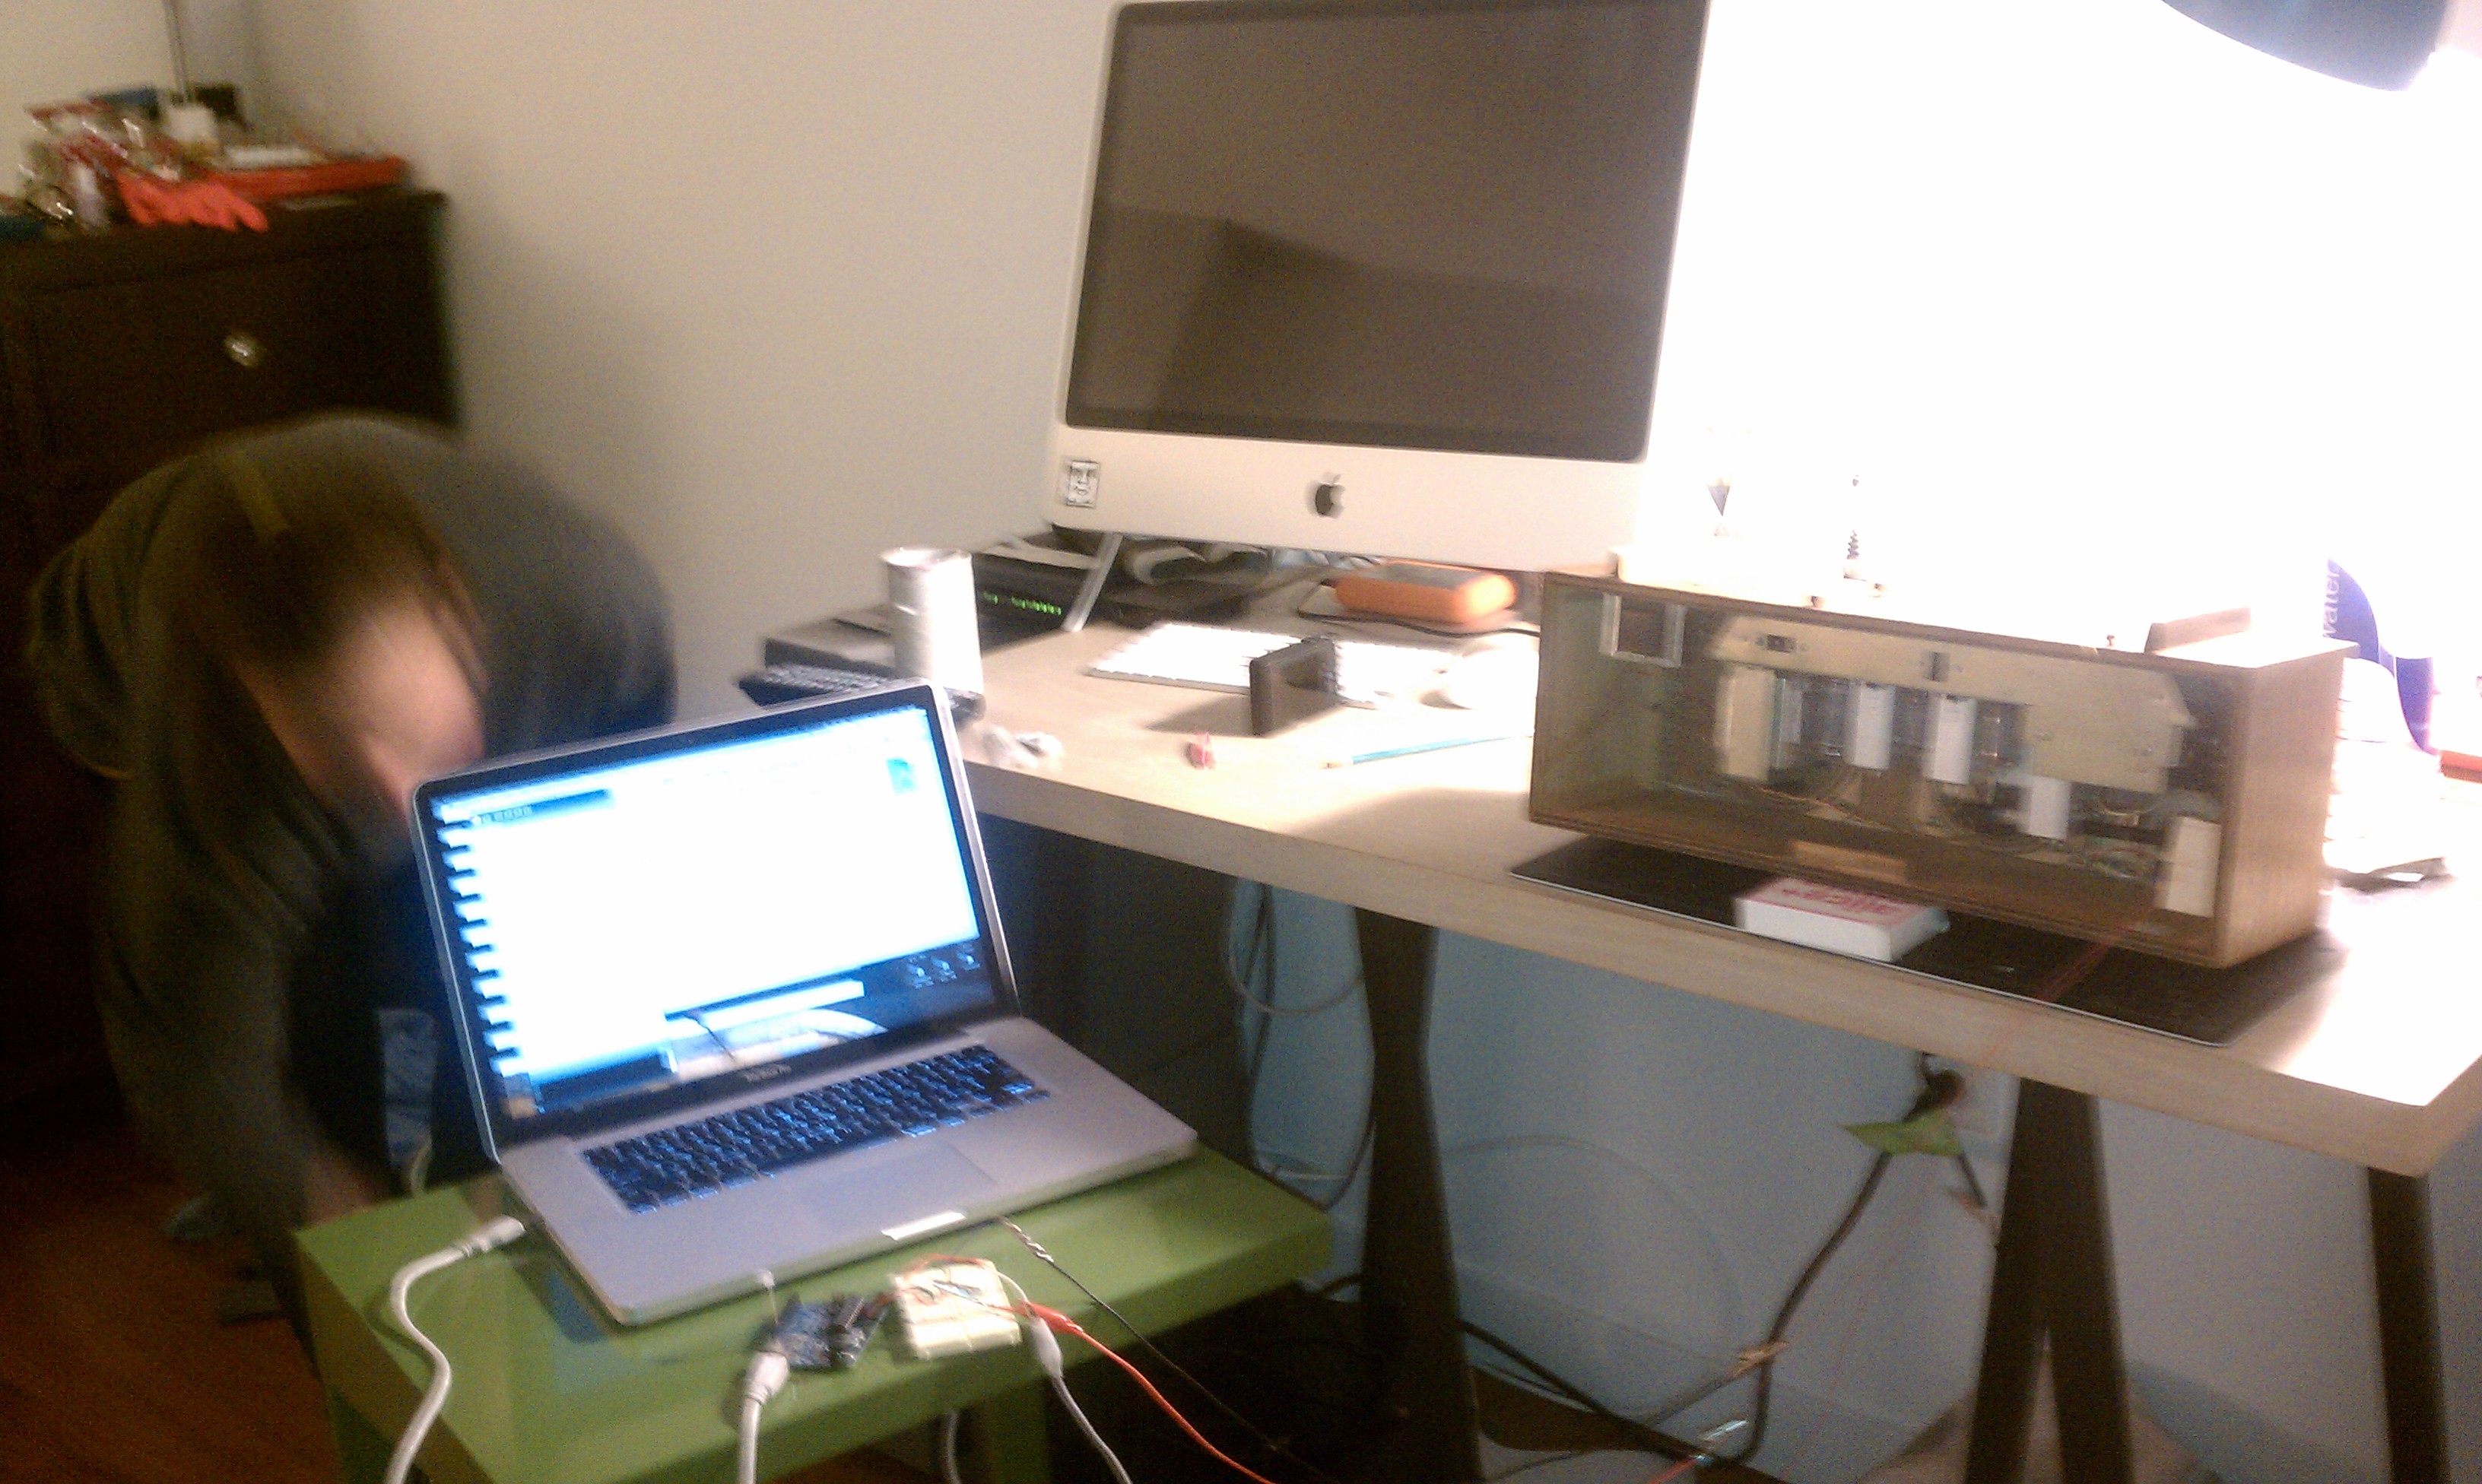

We had a lot of trouble getting the potentiometer to read the values created from turning the know. NO amount of epoxy or hot glue kept it sturdy enough. To take this project further, we would have to refine some sort of stand to keep the knob and potentiometer secure and straight.
Nov 01 2011
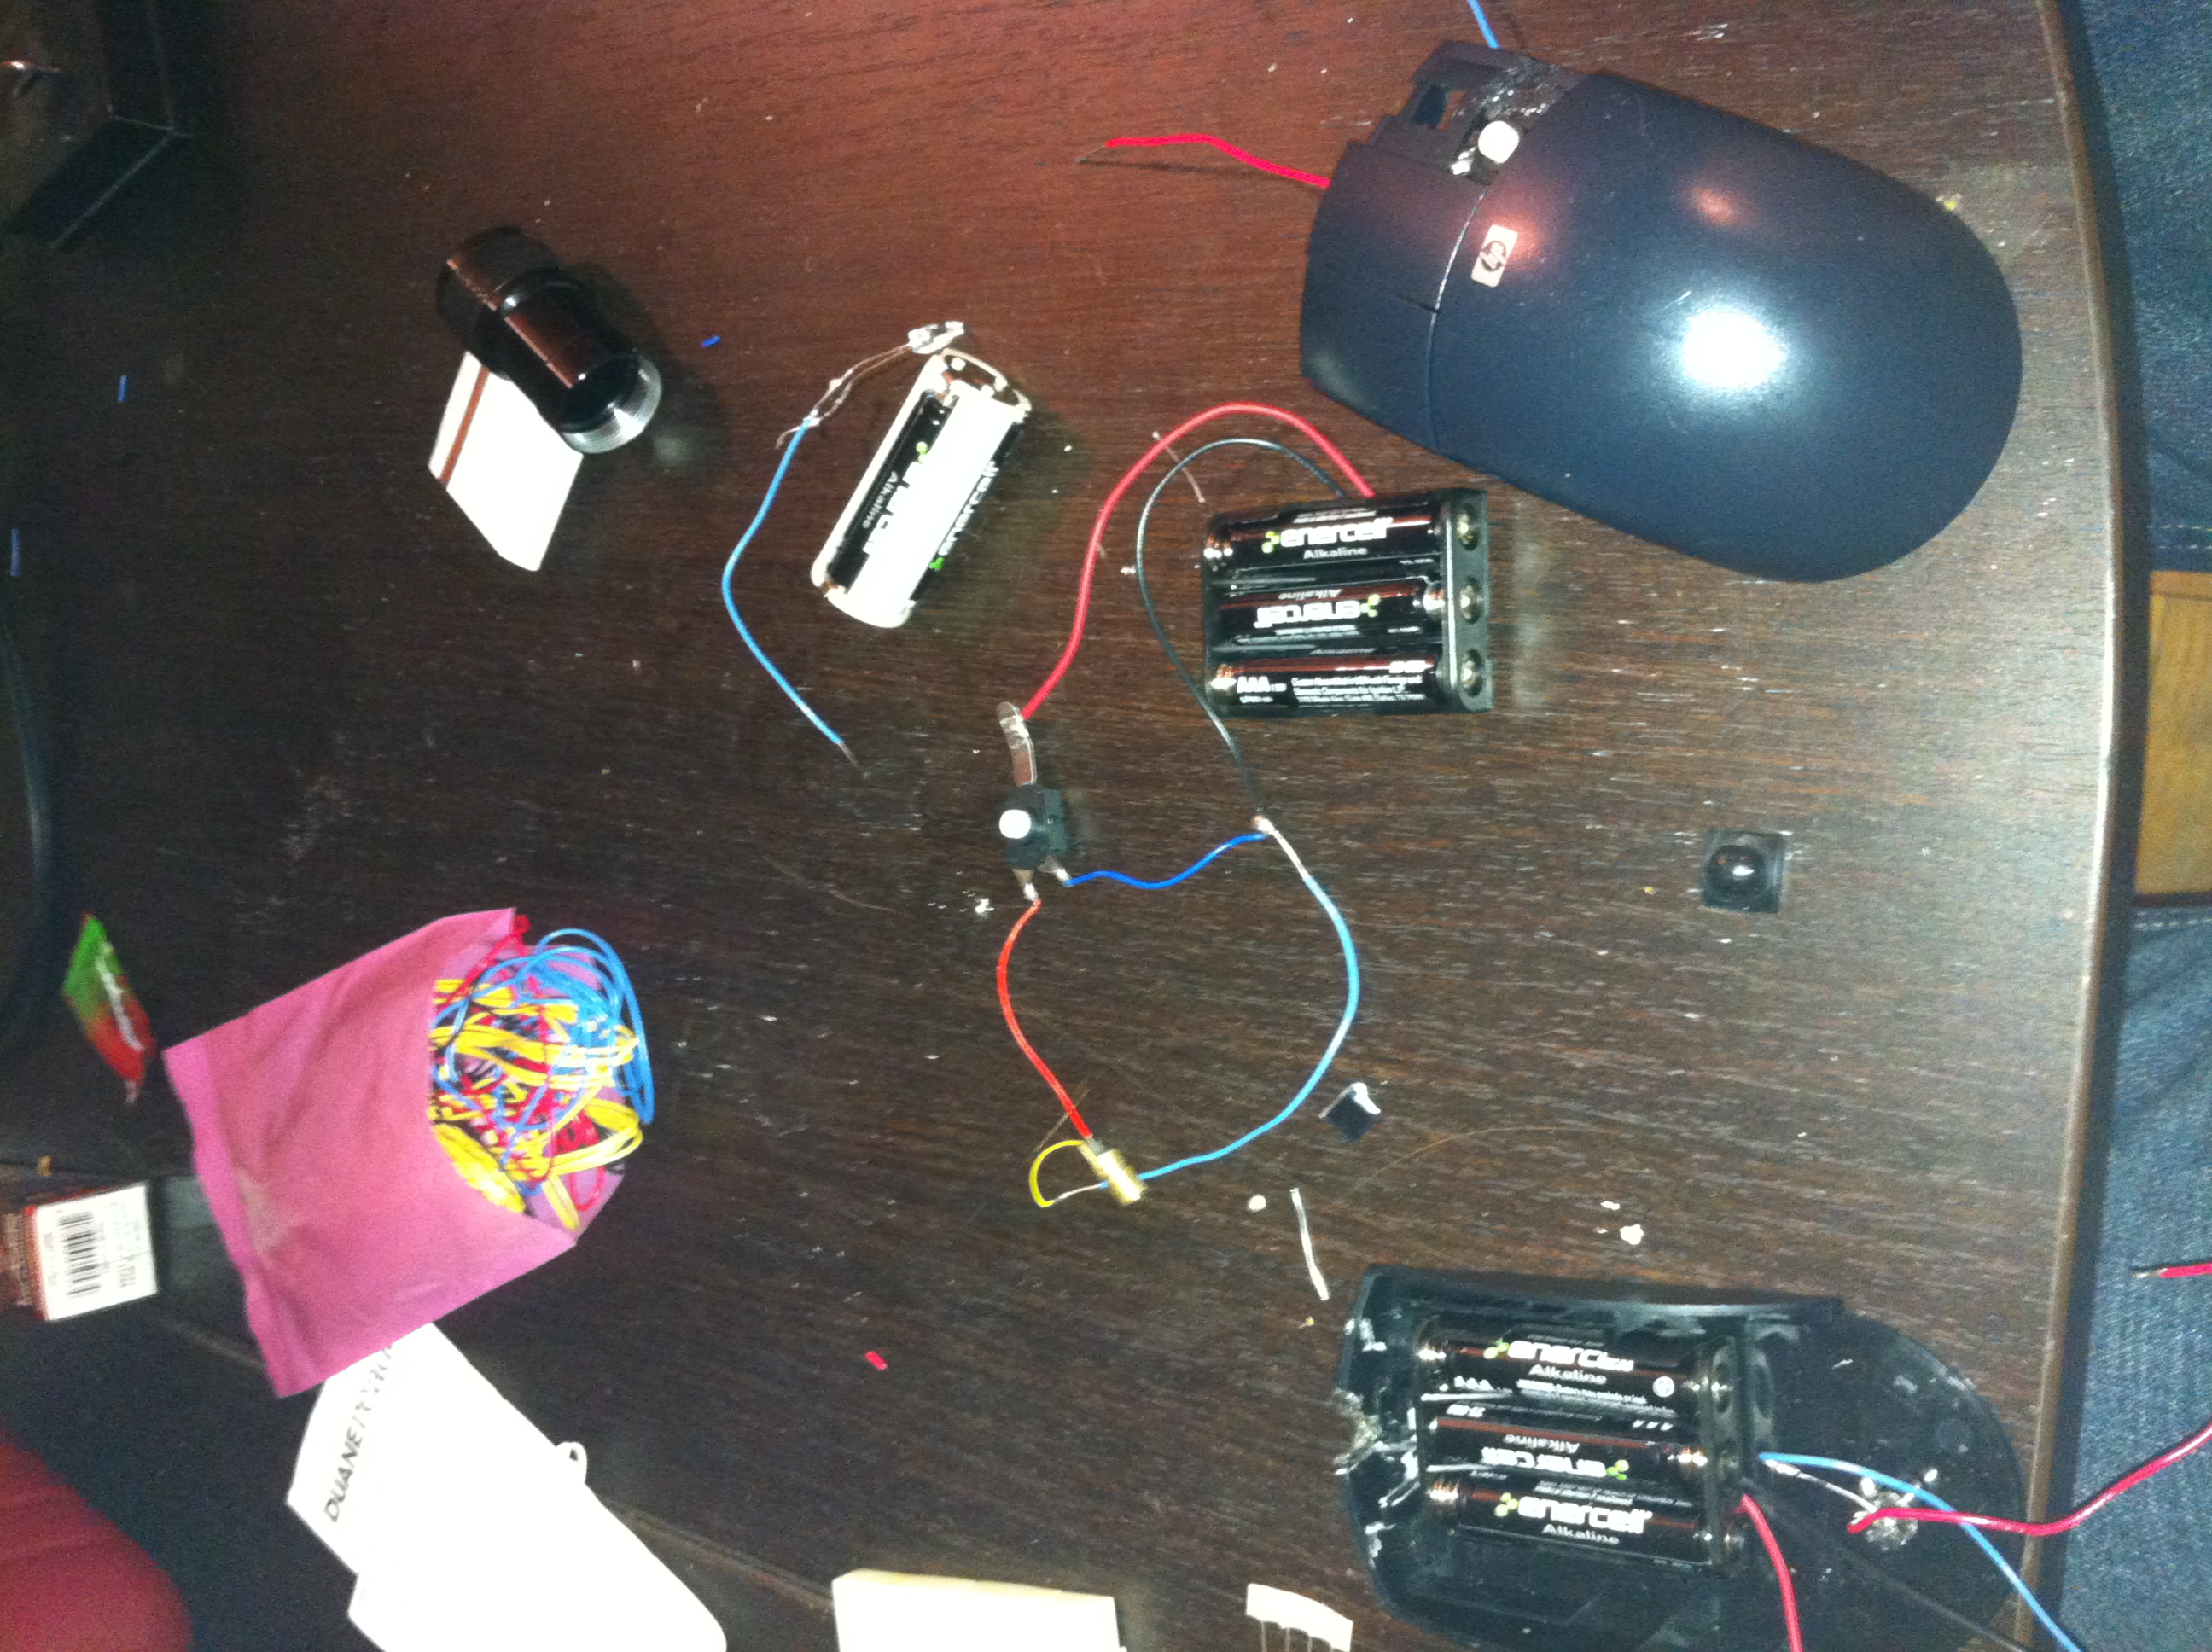
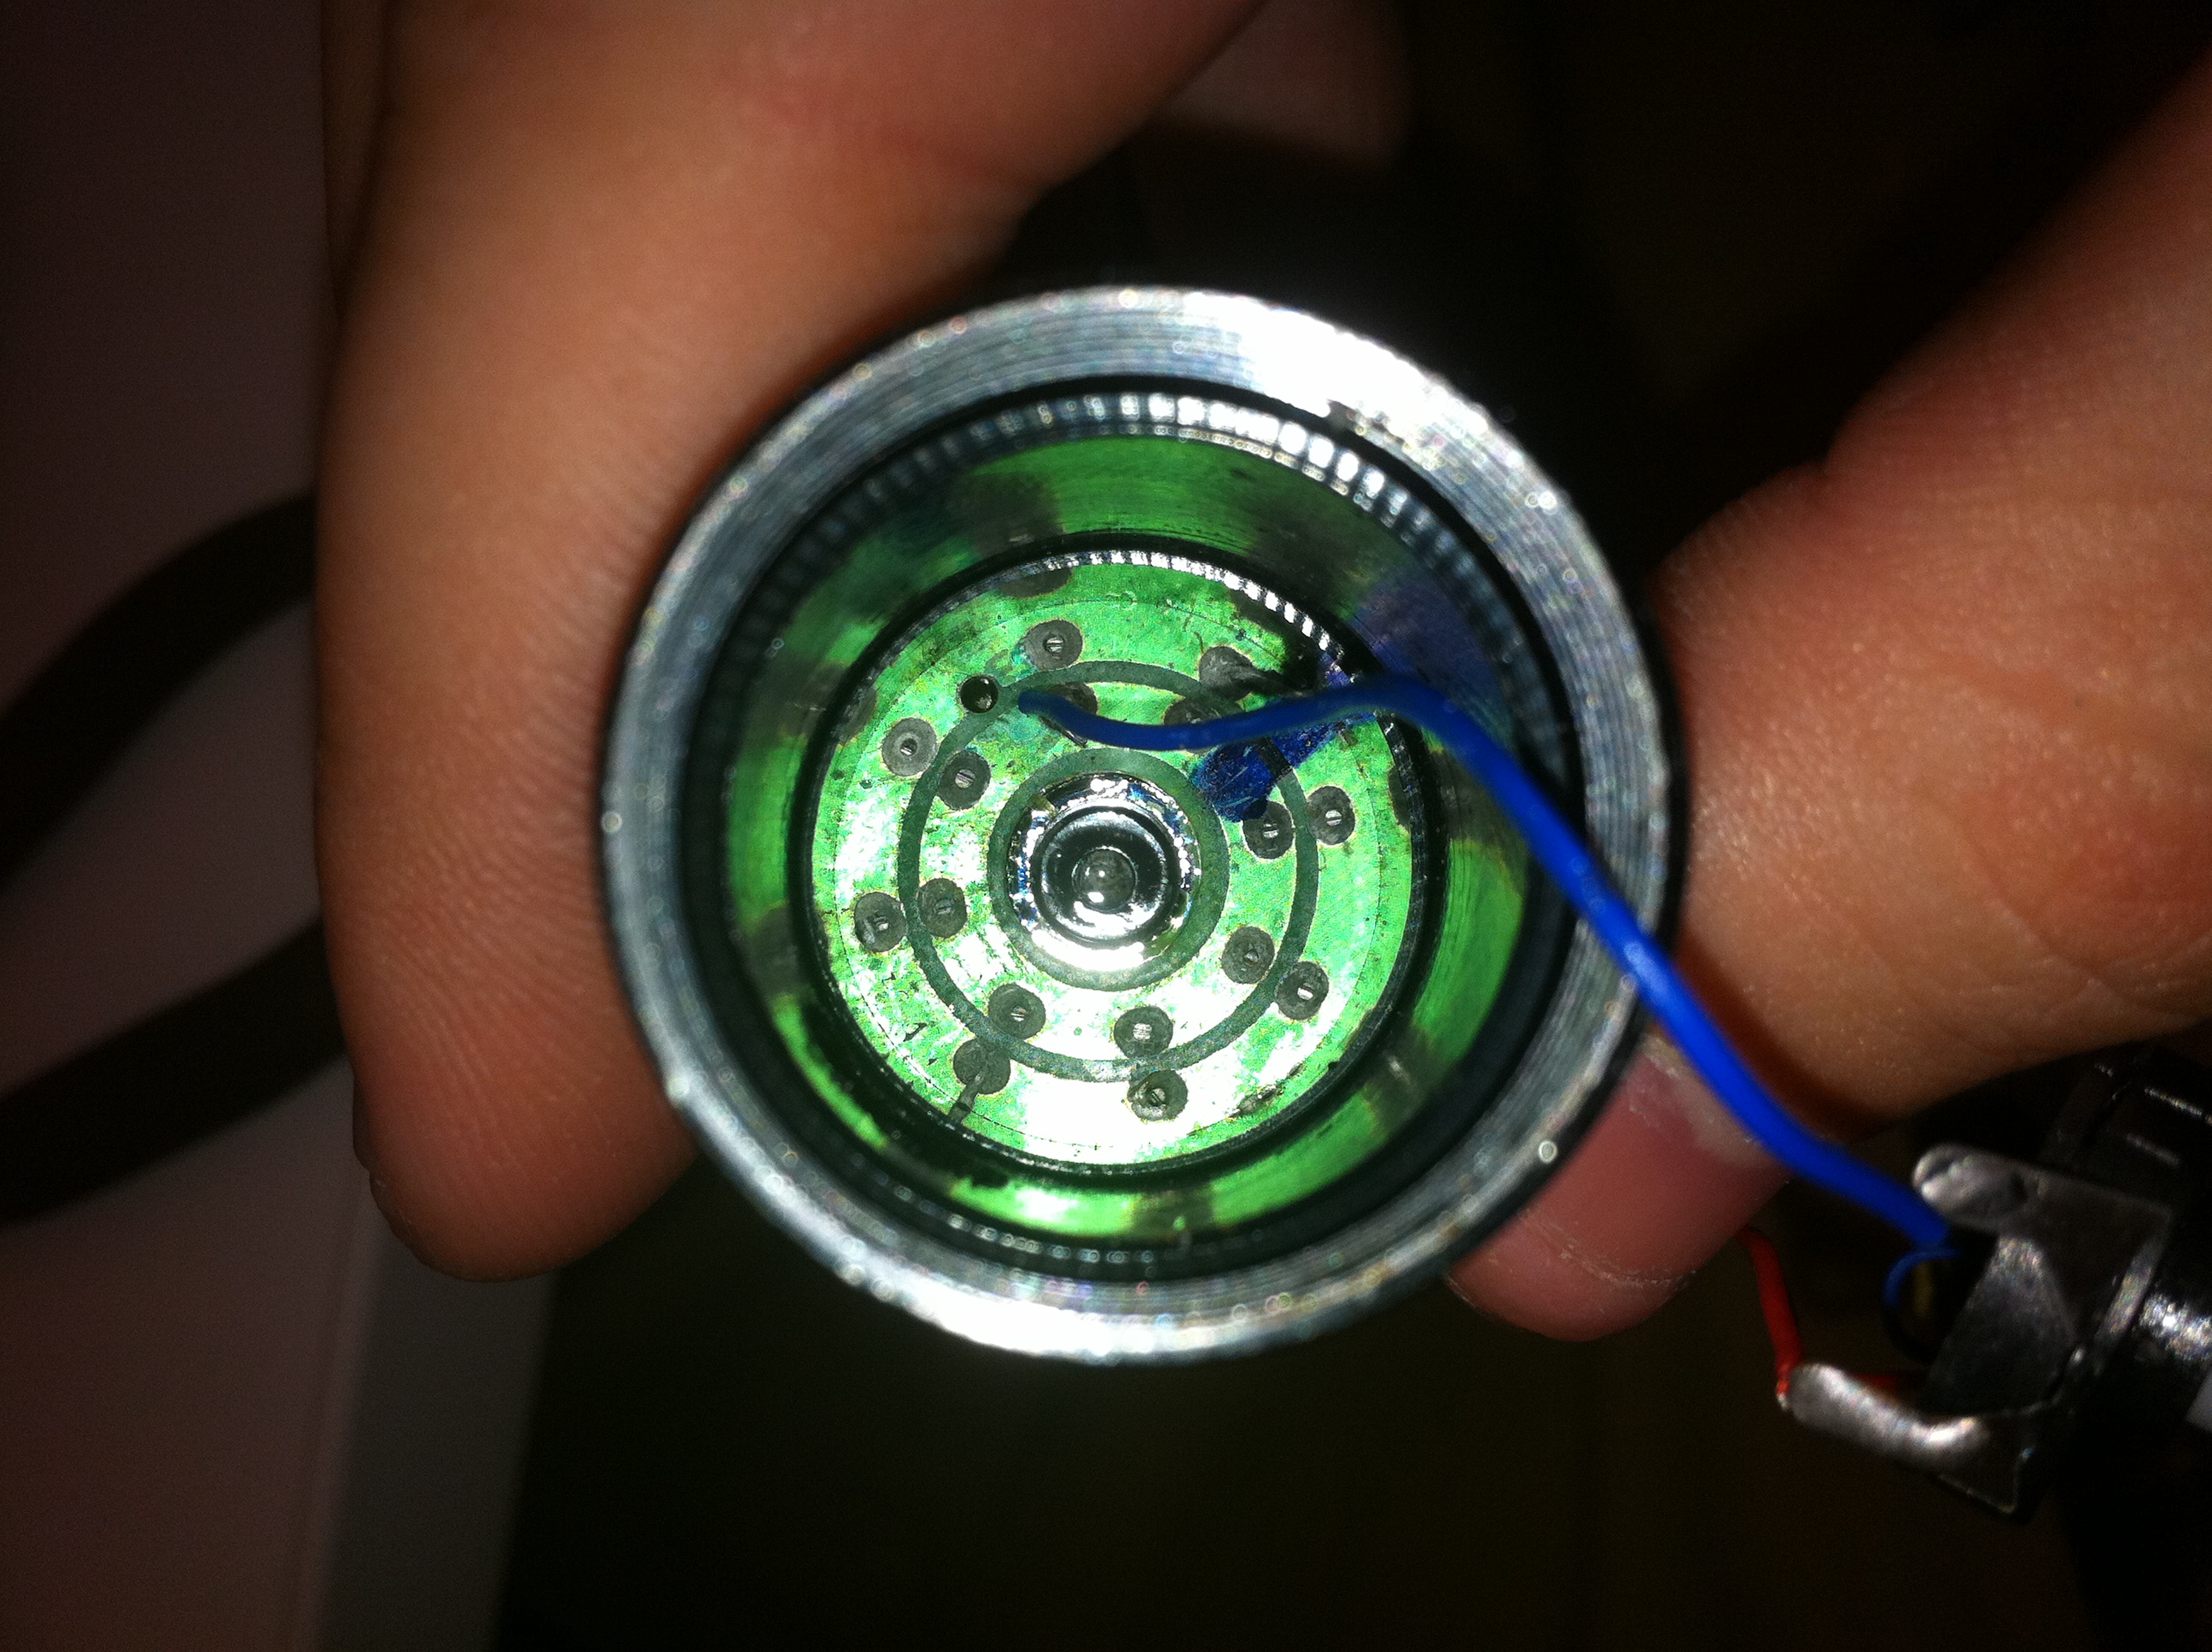
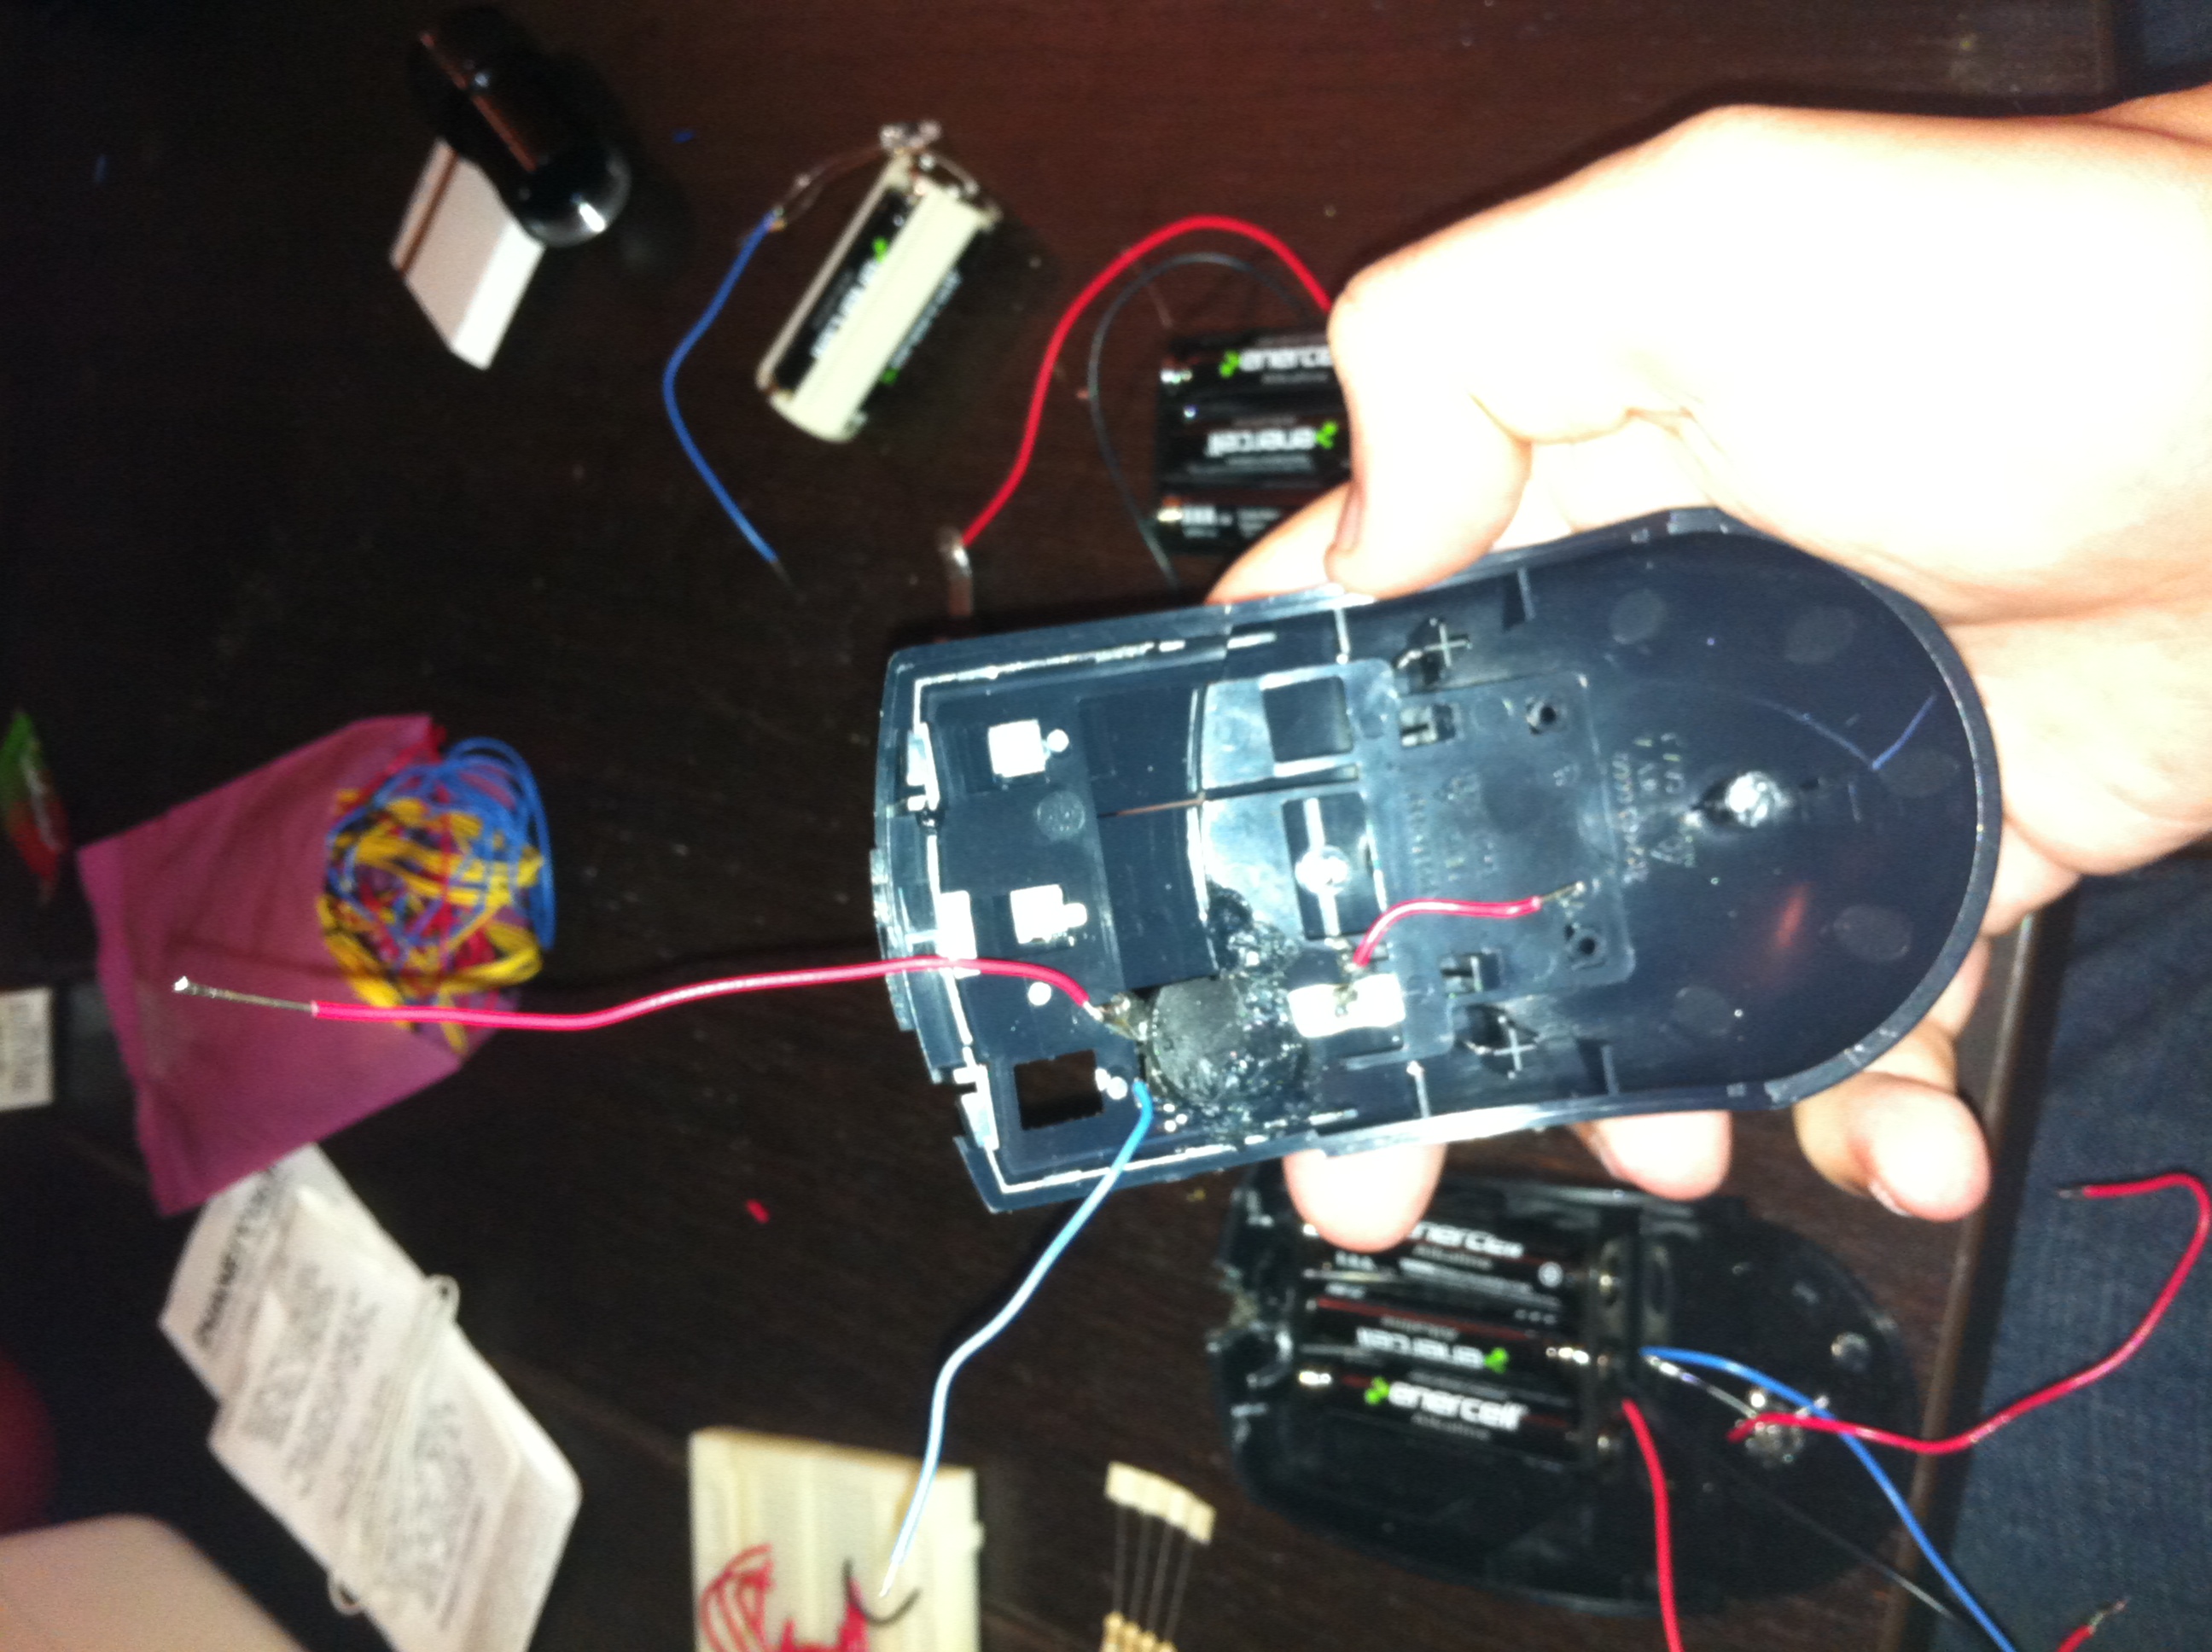
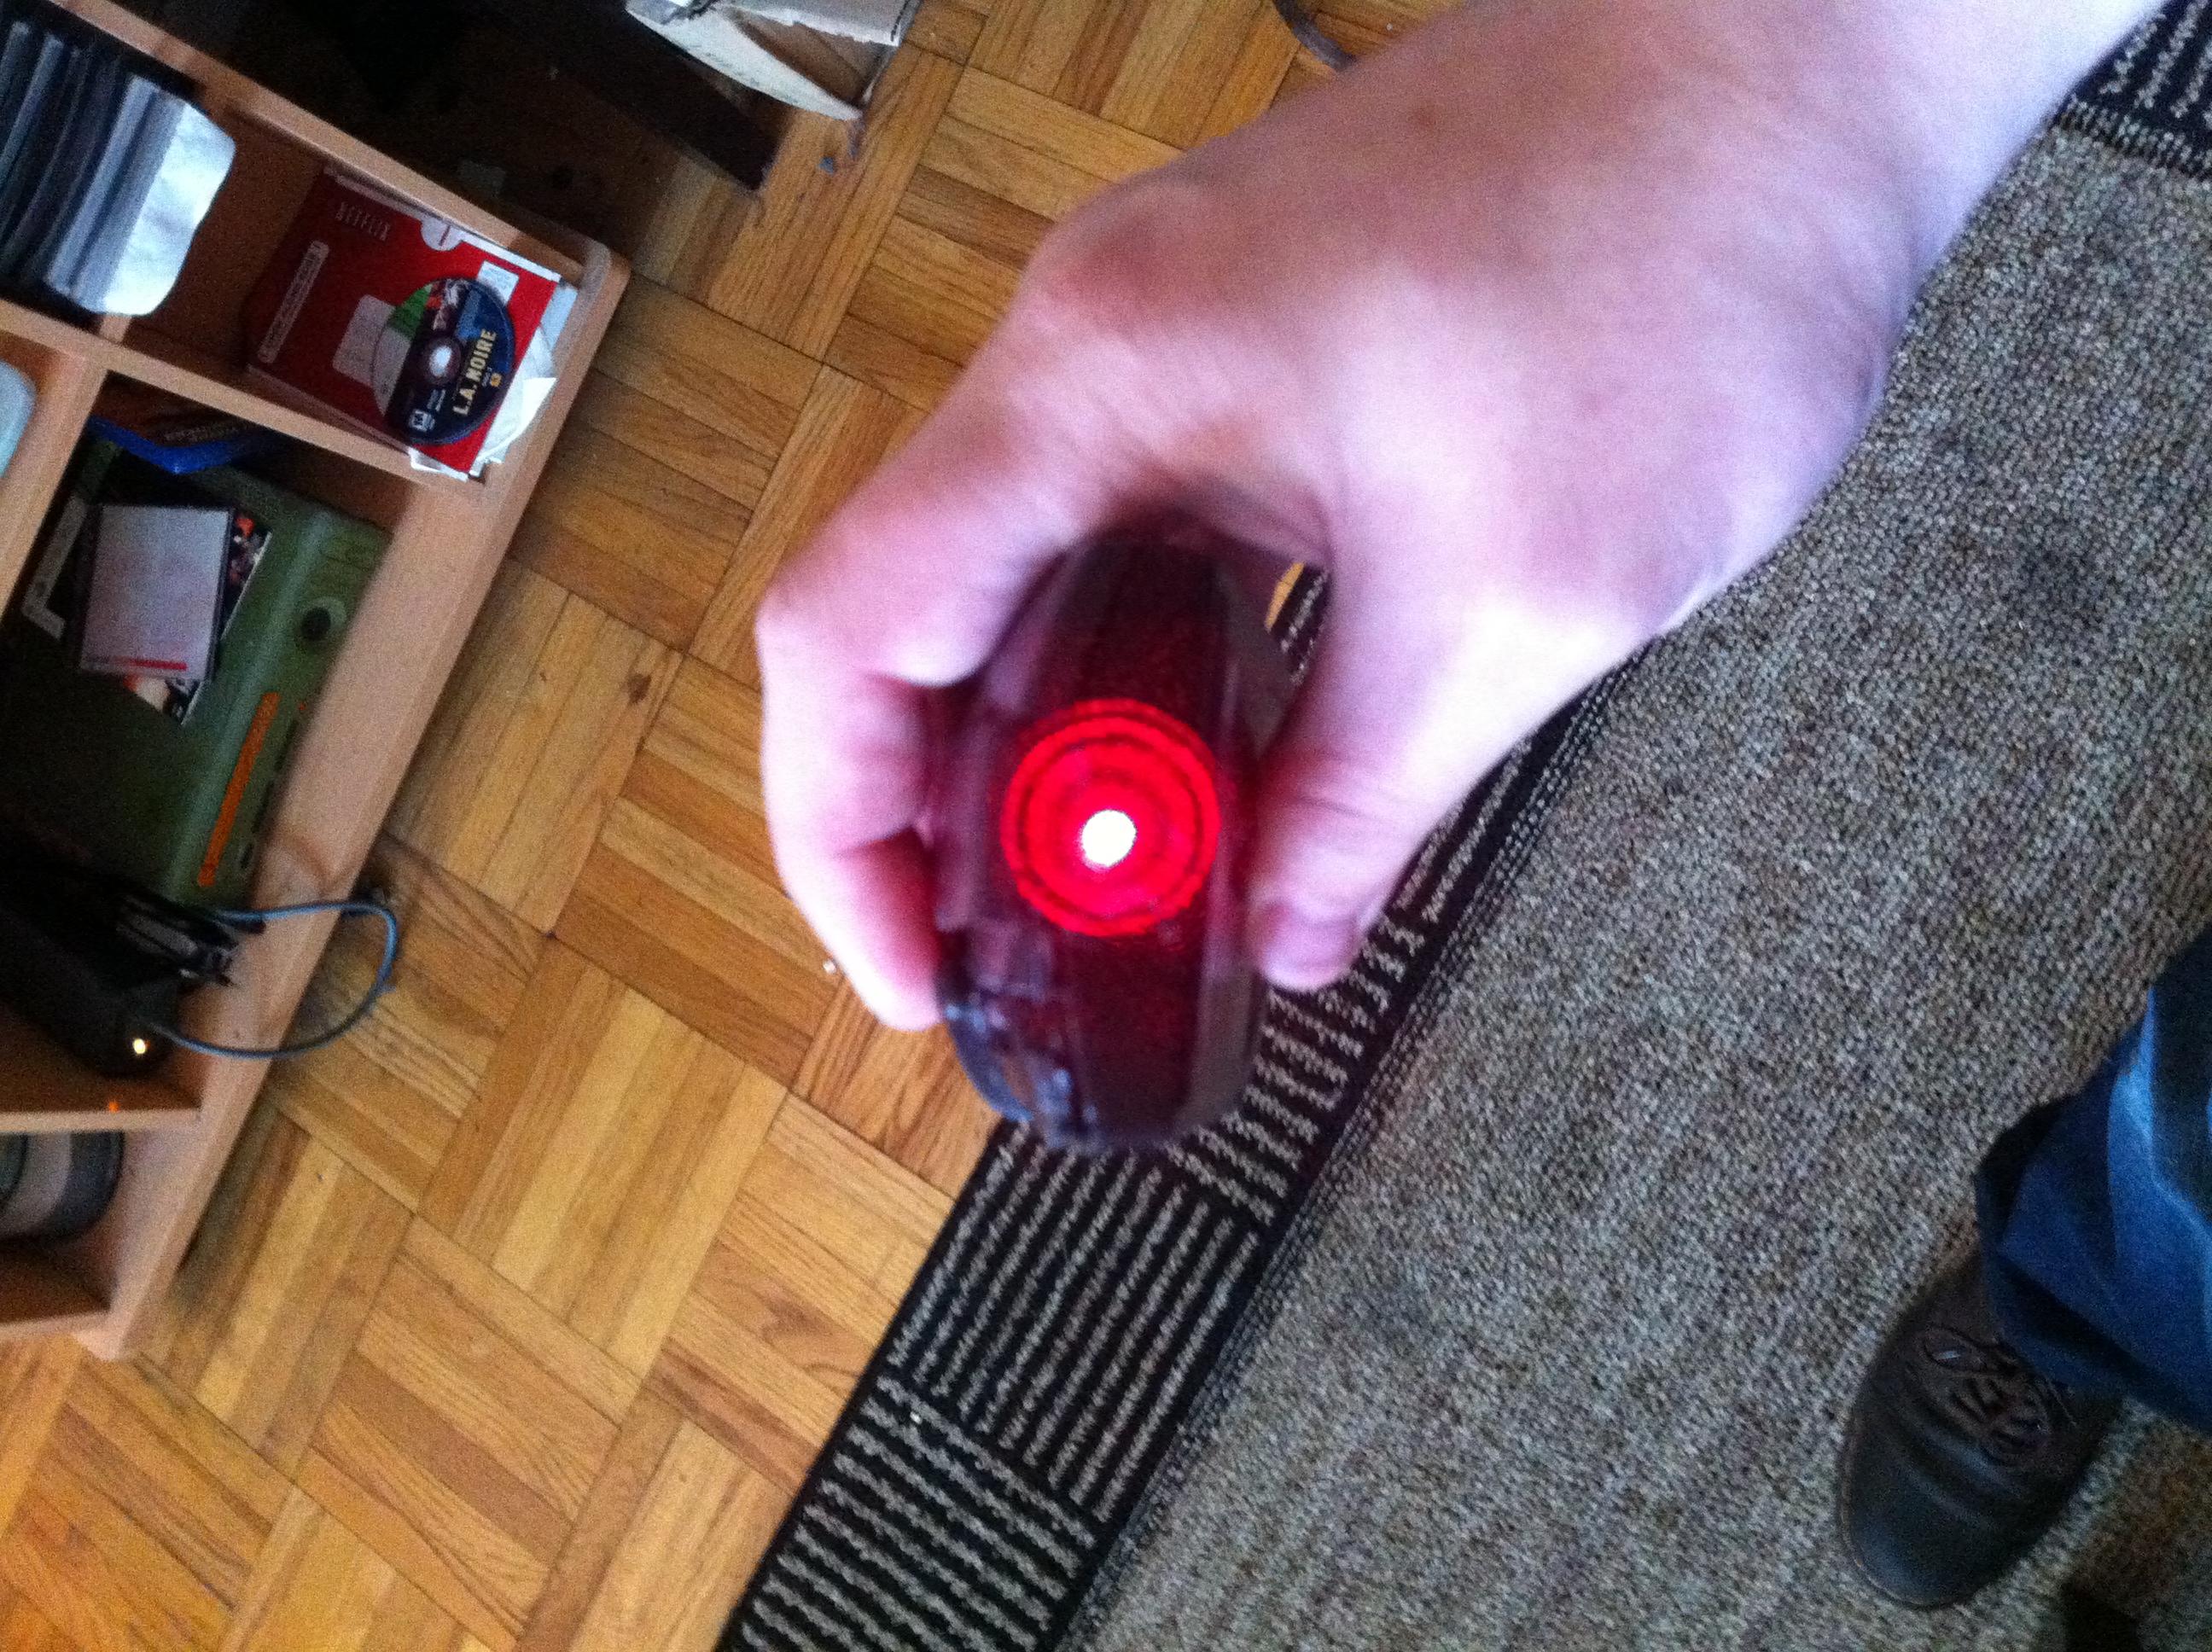 Re purposed an old laser mouse by replacing the internals with a laser diode from a flashlight. A switch housed in the button controls it.
Nov 01 2011
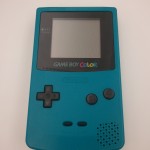
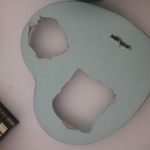
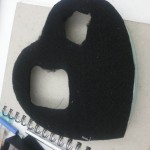
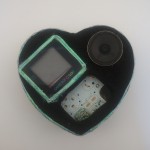
I didn’t really take deadtech and turn it into something different. Instead I created a different interface for the gameboy. I feminized the gameboy into a gamegirl. I’m slowly learning LSDJ so maybe one day I will be able how to create music.
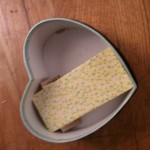
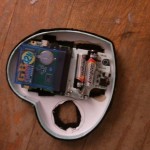
I used a heart shaped box I had sitting around my room for the case. I then covered it in black felt and added lovely ribbon to it, for that extra touch. The gameboy is placed inside and the screen has a special slit for it to sit in place. I replaced the speaker with one I had bought from sparkfun.com. I’m not sure what I am going to do about the buttons but I like that they are out in the open.
Currently my gameboy doesn’t turn on because I need to figure out my battery placement, I’m missing the metal piece on one of the ends.
Check out my photos:

Oct 31 2011
As we were first being told about this assignment, I had a lot of initial ideas for exploring the idea of “dead” tech, and finding in what ways a tech becomes dead (obsolescence of the technology vs. obsolescence of the media) or in how we can compare and contrast our modern devices with the old in a novel way. I envisioned a wikipedia-powered volume of an encyclopedia, or a old film camera that can stream video to the web, but when it comes to a class like this, I suppose you really need to be led by the material you find. I could only work with dead technology I found, and if I never ran across an old film camera, then I just couldn’t go in that direction.
Oct 30 2011
http://vimeo.com/31434361
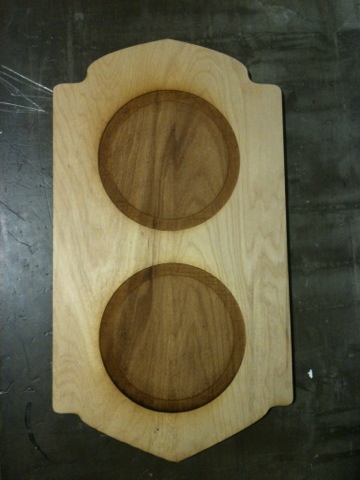
This video outlines the whole project. From creating the housing to the actual implementation. After getting the wood piece back from the laser cutter, I stained the wood and made some holes for the glass vials. I wanted to put the LEDs inside something to keep it from looking simply like a huge wooden breadboard. I also used some of the leftover stain and sandpaper to age the vials a bit.
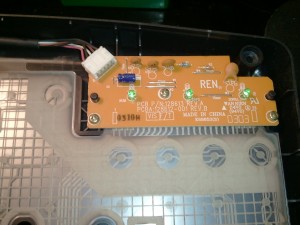
The entire circuit features a photosensor that is attached to a light-tight tube over the LED that blinks when the router is in use. To convert that binary signal (the LED is only on or off) to the 3-step display on my barometer, I had the Arduino average the results of the light reading over a certain amount of time. For instance, if the light had blinked 15 times in the past 10 seconds, only the first step would be activated. If the light had blinked 30 times, the first and the second step would be activated.
This is by no means scientific. I calibrated it so that the results were as accurate as I could tell, but ultimately even the general readings from this photosensor aren’t always consistent. The project has a function but is primarily about the form and aesthetic.
I’ve included the source code below for any interested. Feel free to comment if you are interested in seeing some more detailed documentation on the circuit itself.
Arduino:
/*
  nate rudolph
  WiFi Barometer Sketch for Arduino


  This sketch is based on the following source code:
  Created 22 April 2007
  By David A. Mellis  <dam@mellis.org>
  http://www.arduino.cc/en/Tutorial/Smoothing
  This example code is in the public domain.


*/


// Define the number of samples to keep track of.  The higher the number,
// the more the readings will be smoothed, but the slower the output will
// respond to the input.  Using a constant rather than a normal variable lets
// use this value to determine the size of the readings array.
const int numReadings = 800;


// the digital pins that the LEDs are connected to
const byte grePin = 2;
const byte yelPin = 4;
const byte redPin = 6;

int readings[numReadings];      // the readings from the analog input
int index = 0;                  // the index of the current reading
int total = 0;                  // the running total
int average = 0;                // the average

int inputPin = A0;

void setup()
{
  // initialize serial communication with computer:
  Serial.begin(9600);
  // initialize all the readings to 0:
  for (int thisReading = 0; thisReading < numReadings; thisReading++)
    readings[thisReading] = 0;

  // set the (color)Pin as output
  pinMode(grePin, OUTPUT);
  pinMode(yelPin, OUTPUT);
  pinMode(redPin, OUTPUT);
}

void loop() {


  // Decide what LEDs should be on
  // Will definitely need to be calibrated to match average data from photo sensor
  if (average > -20){
  digitalWrite(grePin, HIGH);
  }
  else{
    digitalWrite(grePin, LOW);
  }

  if (average > 0){
   digitalWrite(yelPin, HIGH);
  }
    else{
    digitalWrite(yelPin, LOW);
  }

  if (average > 20){
   digitalWrite(redPin, HIGH);
  }
    else{
    digitalWrite(redPin, LOW);
  }


  // subtract the last reading:
  total= total - readings[index];
  // read from the sensor:
  readings[index] = analogRead(inputPin);
  // add the reading to the total:
  total= total + readings[index];
  // advance to the next position in the array:
  index = index + 1;

  // if we're at the end of the array...
  if (index >= numReadings)
    // ...wrap around to the beginning:
    index = 0;

  // calculate the average:
  average = total / numReadings;
  // send it to the computer (as ASCII digits)
  Serial.println(average, DEC);
}
Oct 25 2011
For this assignment the class is tasked with revitalizing dead or out dated technology. I have decided to refit an old nes controller to work with a the usb ports so that I may play video games on my computer.
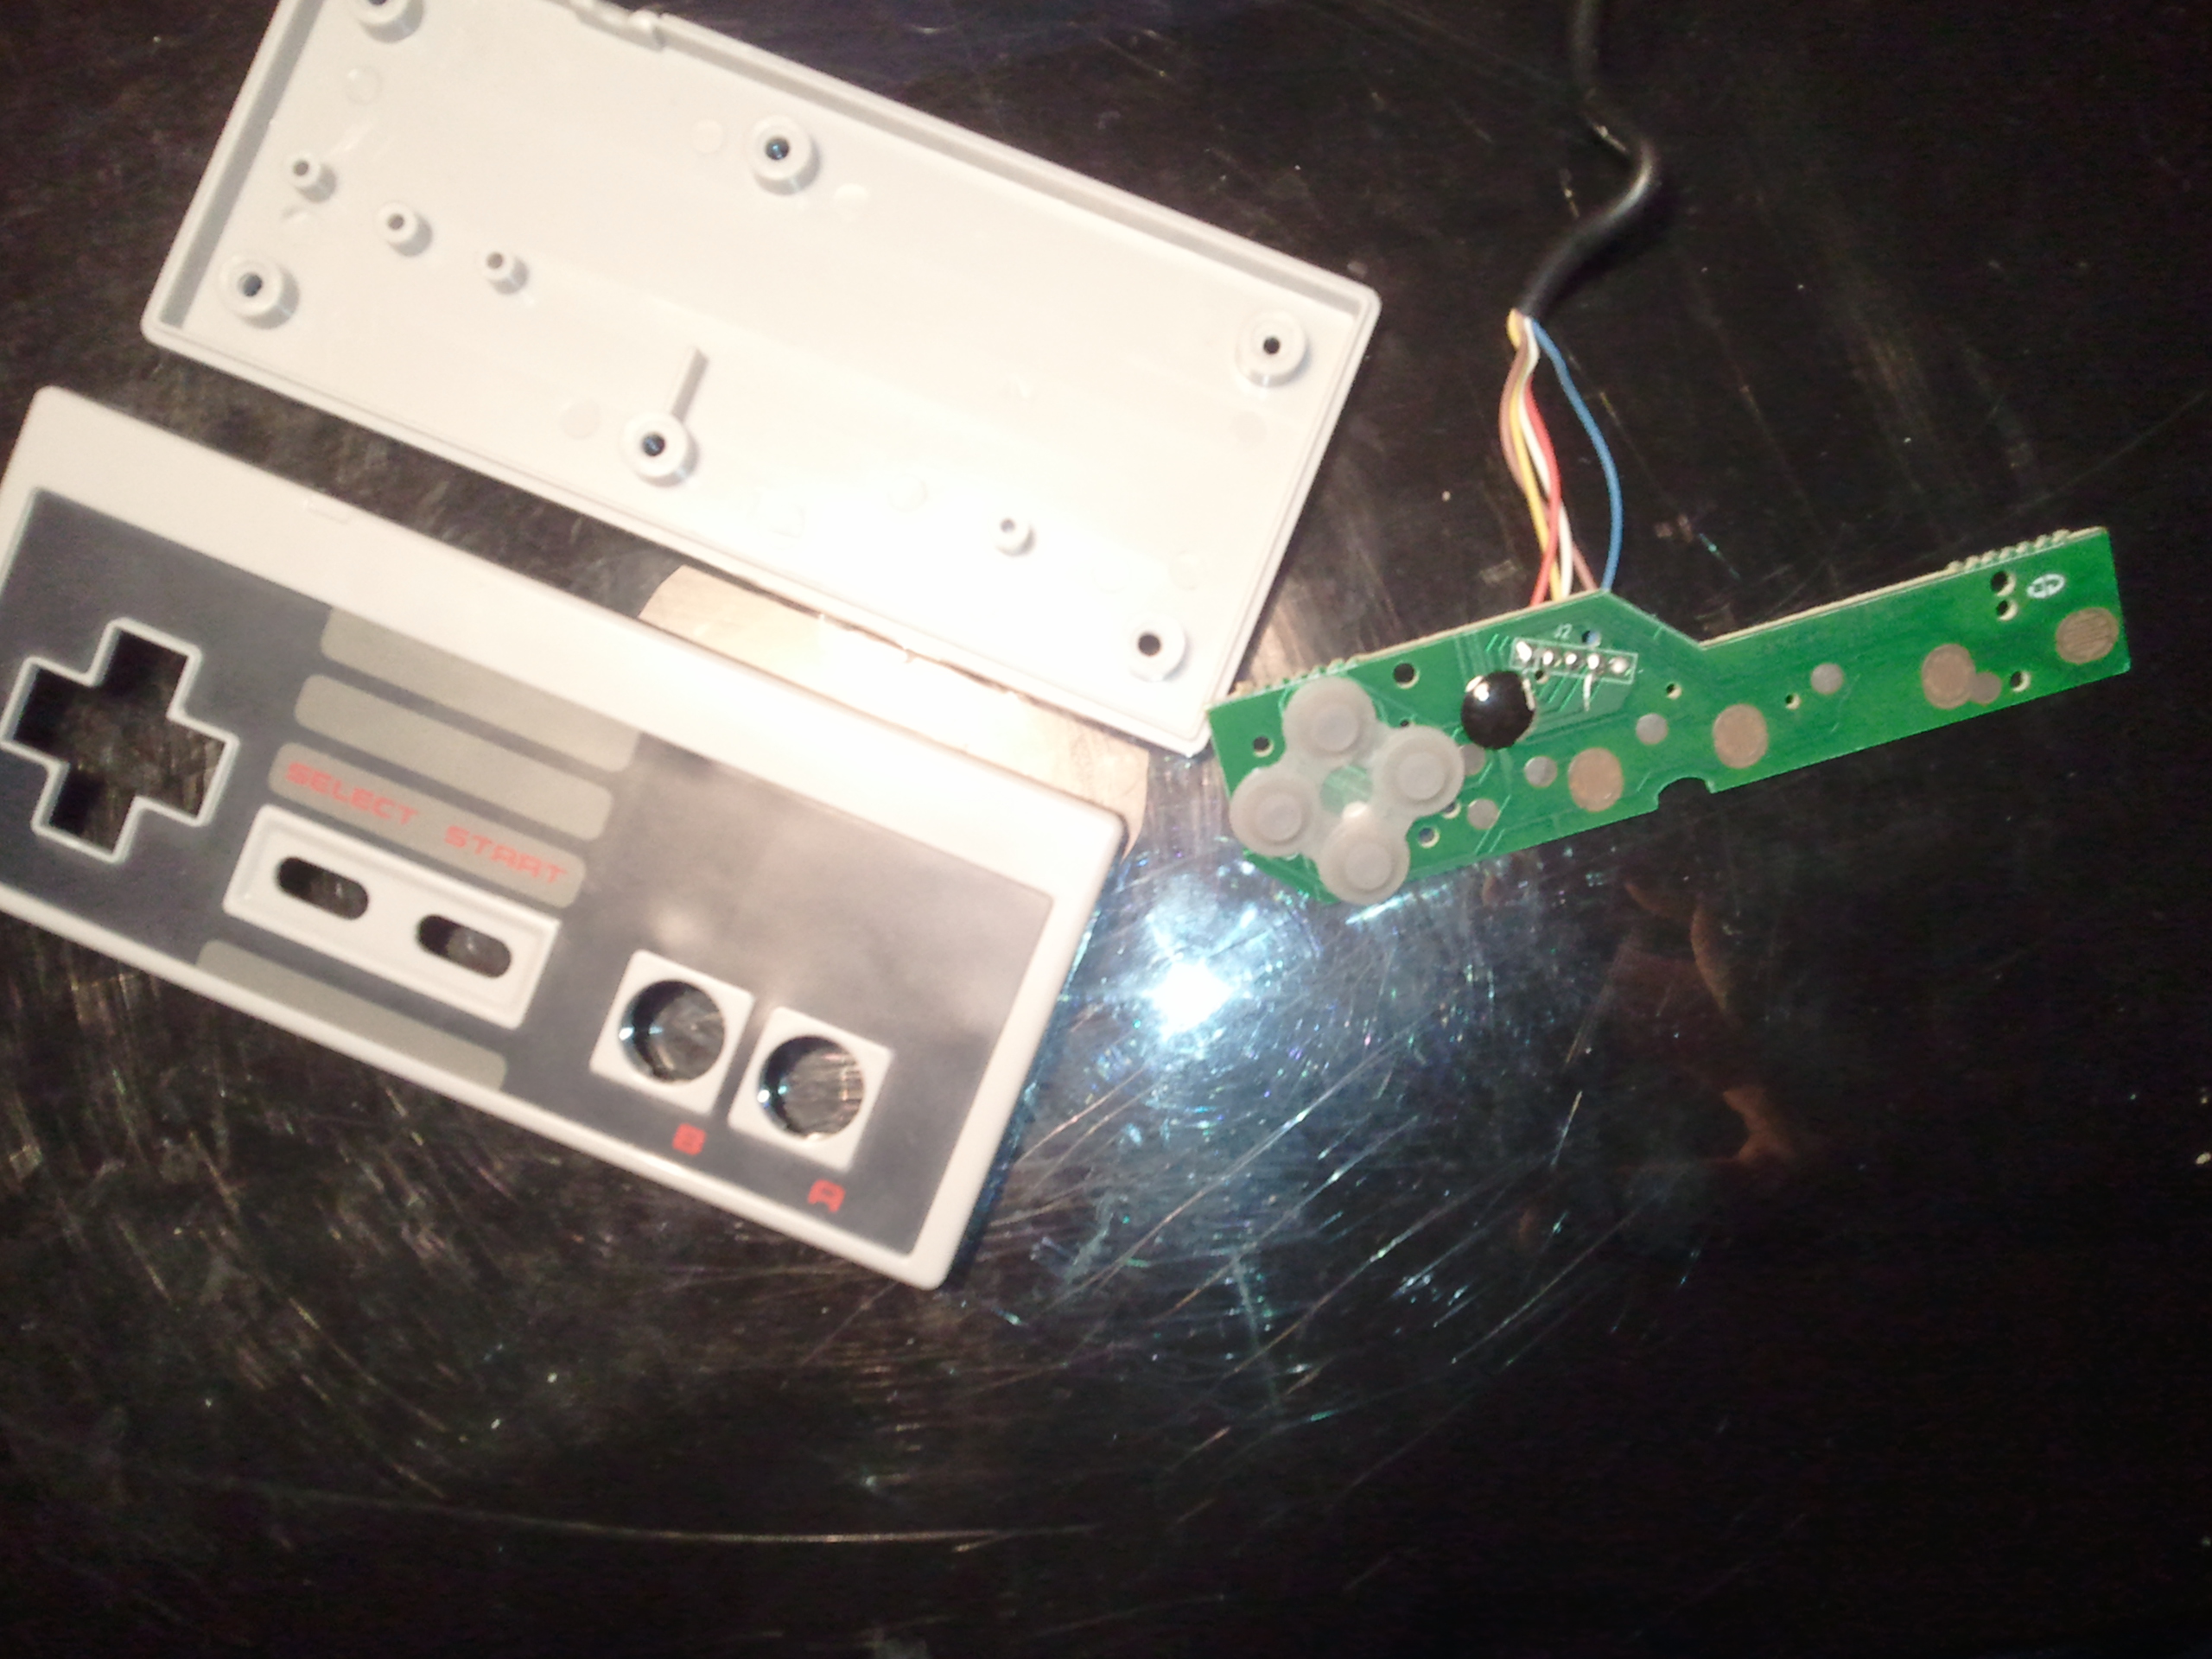
I have found an old nes controller and an old out of use keyboard. After researching on the topic at hand, I have decided to take the keyboard control board and map the nes buttons to the key press sensors on the keyboard control board via soldered wire.


To do this, I firstly needed to discover which sensors represent which keys on the keyboard control board. I achieved this by testing each connection. I plugged the keyboard into my computer via is existing usb connection. Then I studied the circuit mapping inside the keyboard and decided that the circuitry worked within two circuit groups. (every keyboard is different) I tested the keys by touching the end of a wire from from group a onto a sensor within group b until I received a desired key. This key will be mapped to the controller and later mapped to my nes emulator. This was a long task that took me a few hours. ( there are a few details I’m leaving out right now that I will include in my following posts on this project. For now this should suffice.)
At this point I’m going to attempt to solder wires from the nes control board to the keys I have discovered on the keyboard control board and test.
Personally, I feel that I’m learning more that I initially assumed I would, and that is awesome.
Oct 25 2011
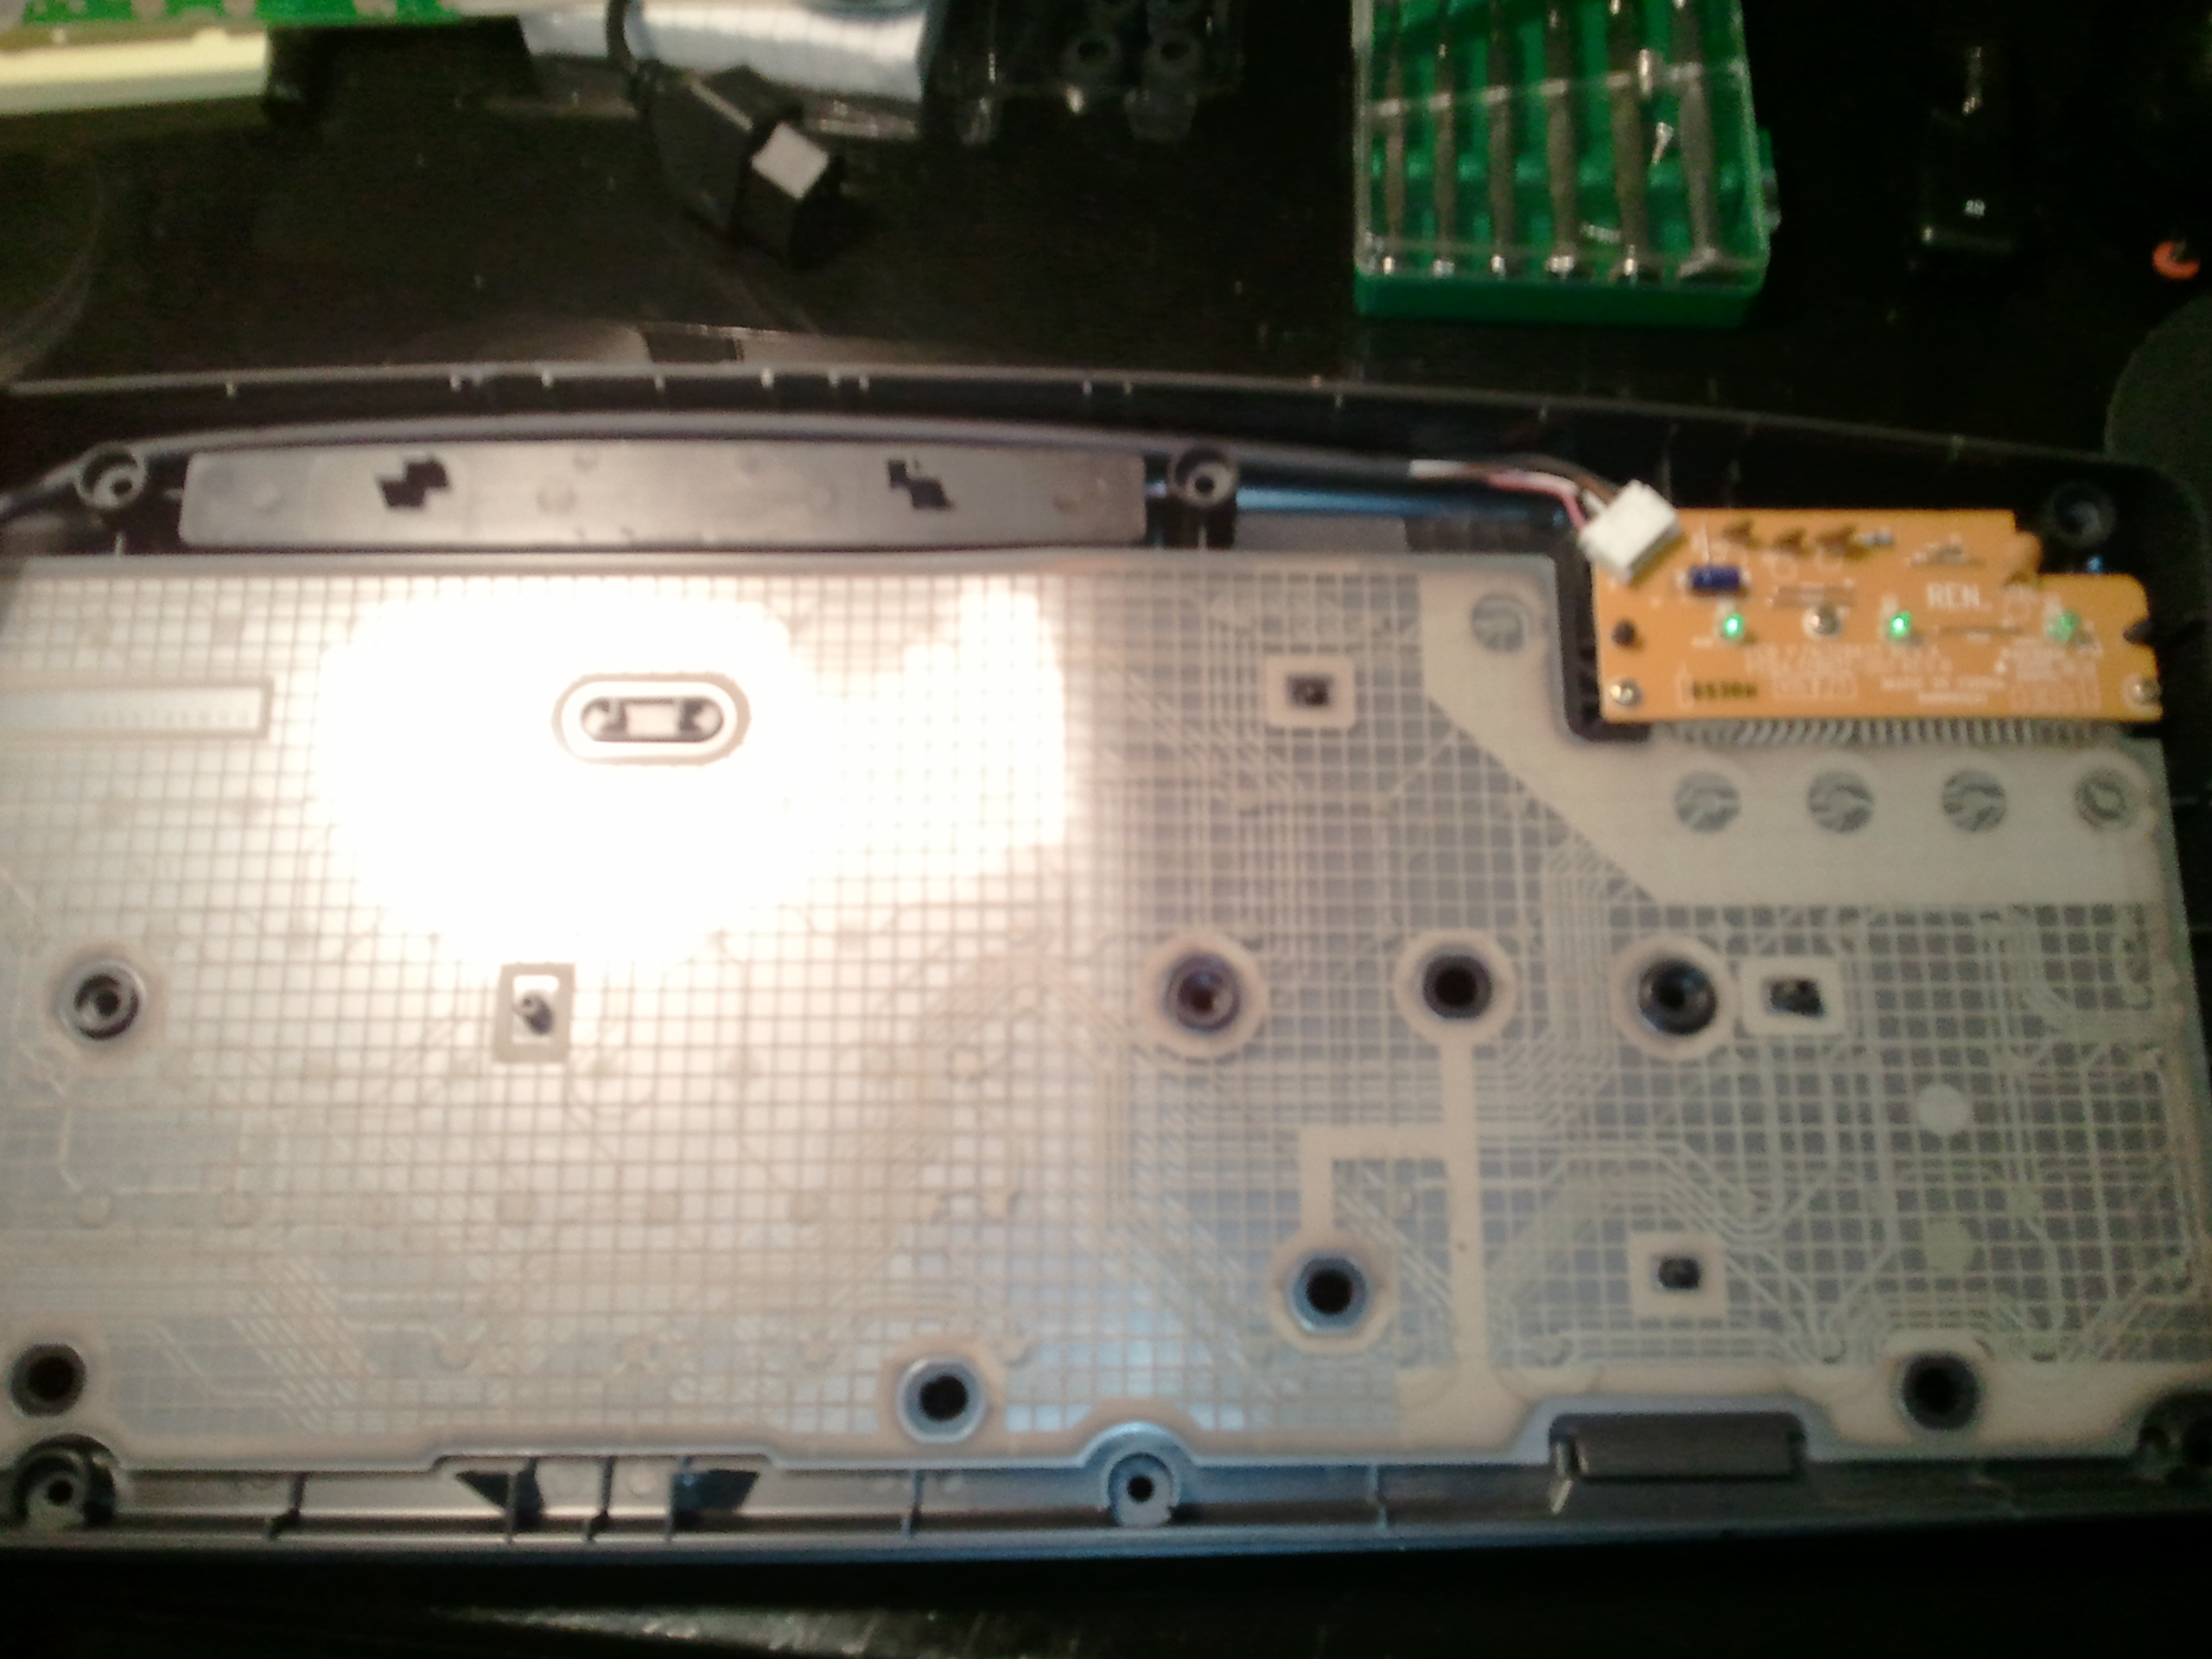
Our latest assignment in Scrapyard was to repurpose some sort of “dead technology” to incorporate something new or more modern. I had an extra wifi router in my closet that I knew I wanted to do something with so I started there.
I’ve always been annoyed at how ugly and messy routers can get: power and coaxial cables from the wall, Ethernet between modem and router, and all the antennae etc…
To solve this, and incorporate the scope of the assignment, I decided to make a weather barometer that instead of reading air pressure, reads the traffic on a wireless network. After searching around I discovered quickly that, although barometers have been replaced by weather media, they are still valued quite highly as decorative antiques. Far out of my price range.
So I made a basic design in Illustrator and had it laser cut to house my project. Here’s what it is so far, the actual guts and function come next:
Oct 24 2011
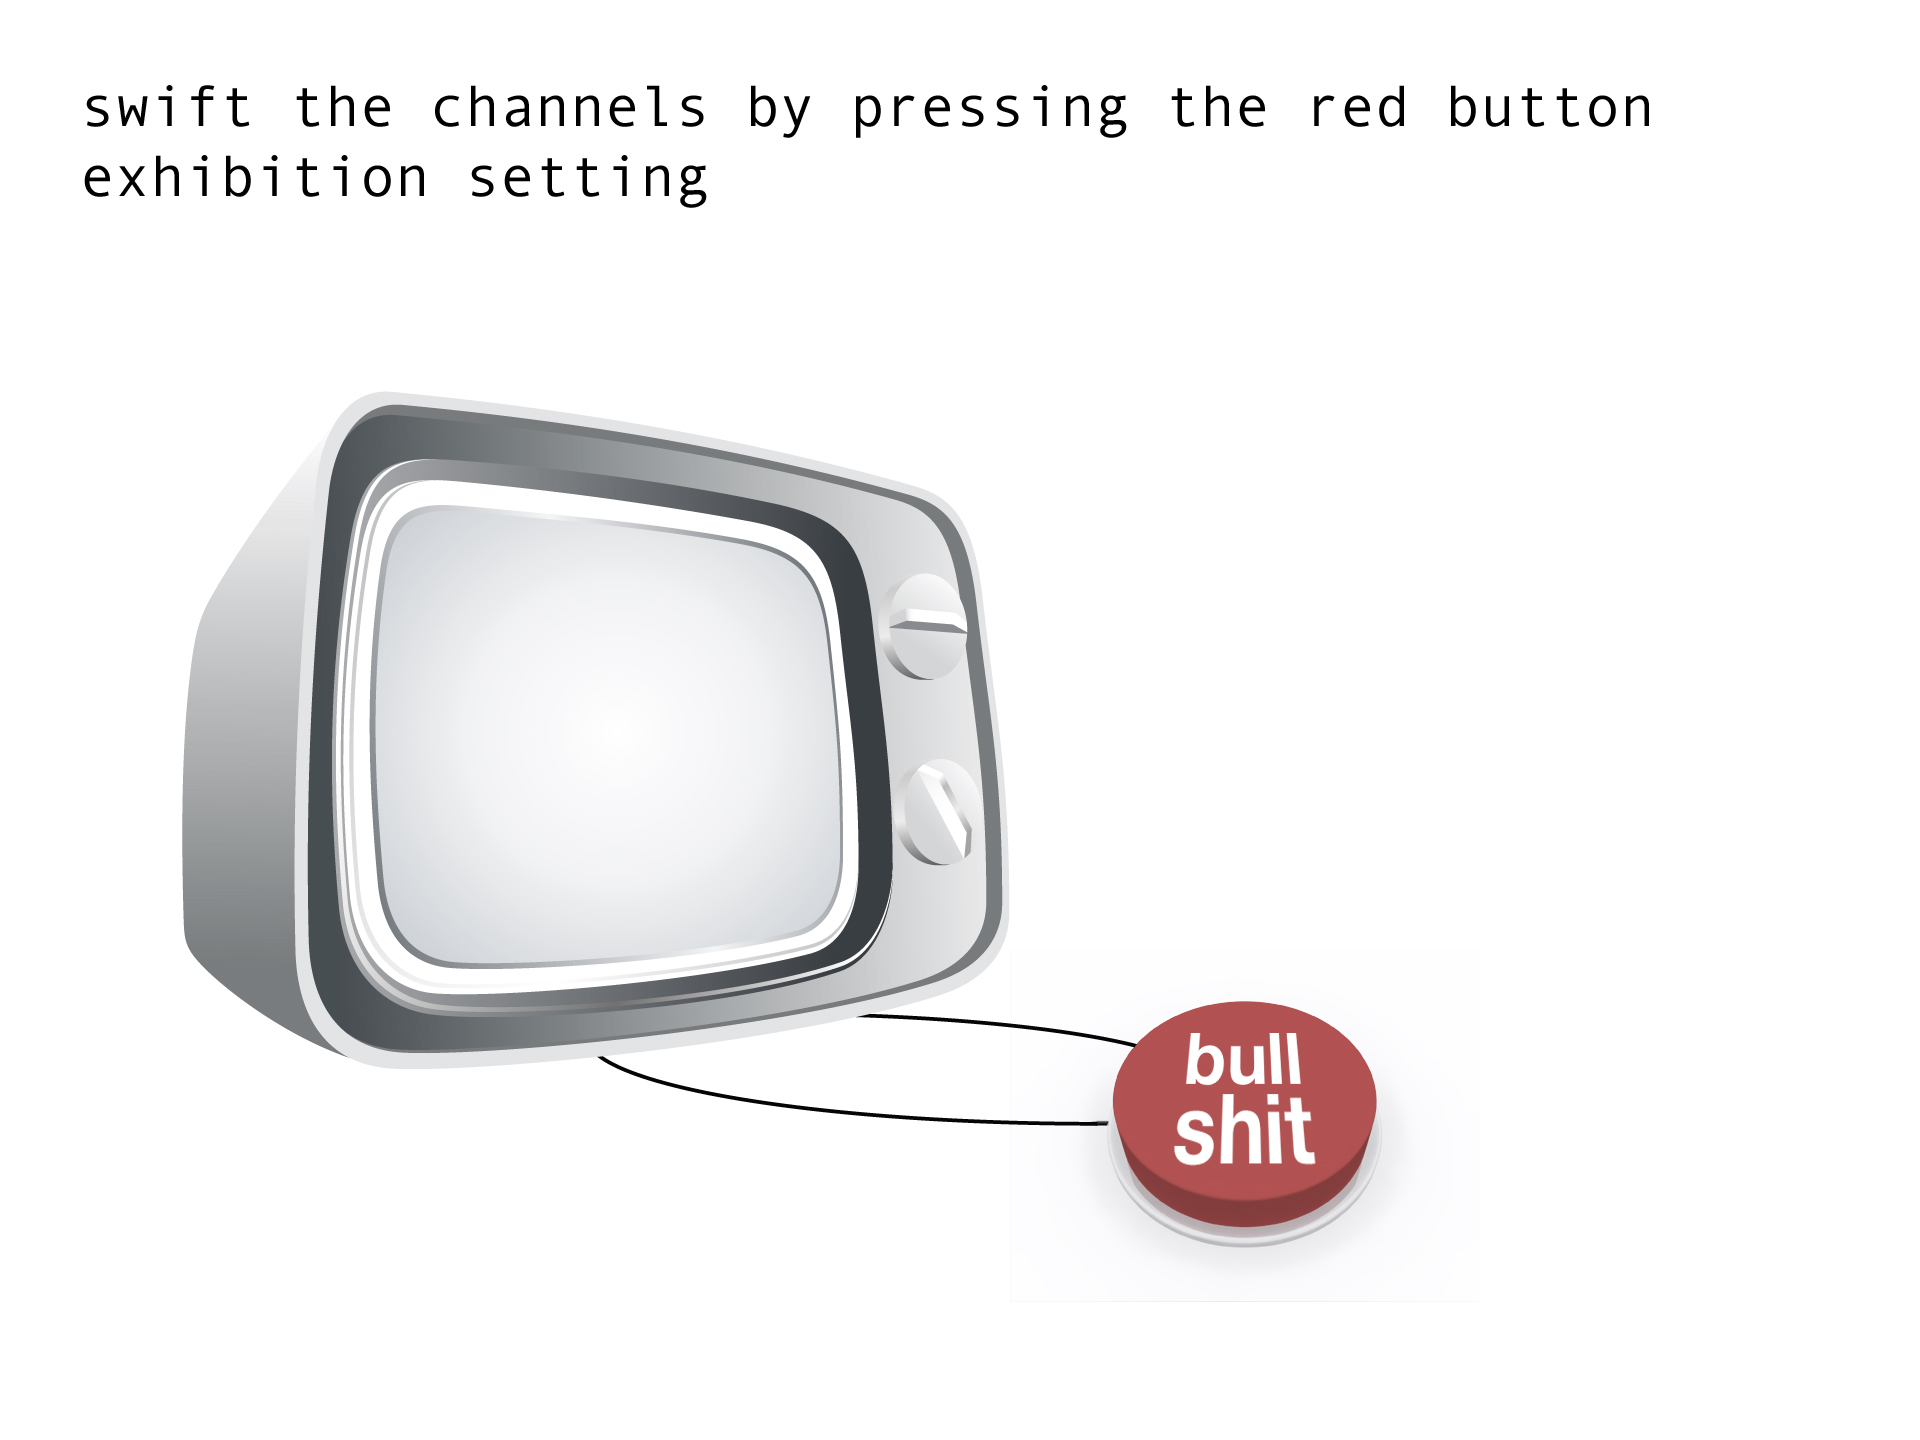
Since I have been in the States for a few months, I strongly find an interesting phenomenon which is media in China focuses viewpoints so differently on one event from that in the States.
Take the Occupy Wallstreet as an example, my friends in China usually ask how my life goes in the States, recently they tend to be curious about how much occupy wall street impact on New Yorker’s normal life. It is a little bit surprise when I access the Chinese webpage talking about Occupy Wallstreet, most of them are really serious about it, they even only satirize the dark side. As we all known, media sometimes controlled by government in China, they speak what the government want – we are living a good life, while other countries are suffering. On the other hand, the American medias take the dark side of China as well. Because I am right now in New York and observe the Occupy Wallstreet just happens in neighborhood, I compared the views of medias in both two countries, the American media is talking about it on one side, while the Chinese is magnifying on the other side.


This piece named ” bullshit” . What you can do is to switch from one movie clip to another in order to get awareness of what the whole story is.
check it out!
setting design